Built with Inline Studio
Haaland Chibi FIFA Video: Project Guide
40 sec, fully AI generated funny parody of famous football character Haaland generated with Seedance 2(Reference to Video) & GPT 2(Story Board Generation).
- GPT 2 Image
- Inline Studio
- Seedance 2.2R2V)
Haaland Chibi FIFA Video: Project Guide
The entire video was generated with Inline Studio. Download the project zip to import a fully working project on your computer.
The project file contains all assets and prompts.
Step 1: Write the storyline
A detailed storyline is the foundation of a good story. I used Claude to generate the full prompt from a short brief.
provide a 40 sec storyboard prompt for funny halland animated video related to fifa world cup
animated style would be 2d & all characters are short & cute, 12 frames & main character has pony hairs
jersey should be red, include headshot, fierce, everyone feared this character
Step 2: Generate the storyboard prompt
Ask Claude to expand that into a storyboard prompt covering each shot. Here is the prompt I used:
Generate the entire prompt for gpt2 image to generate guided storyboard
Step 3: Set up frame generation
- Add your fal key under Settings.
- Add a new Generate frame node with the model GPT Image 2.
- Add a new Prompt node and connect it to the generation node, as shown below.
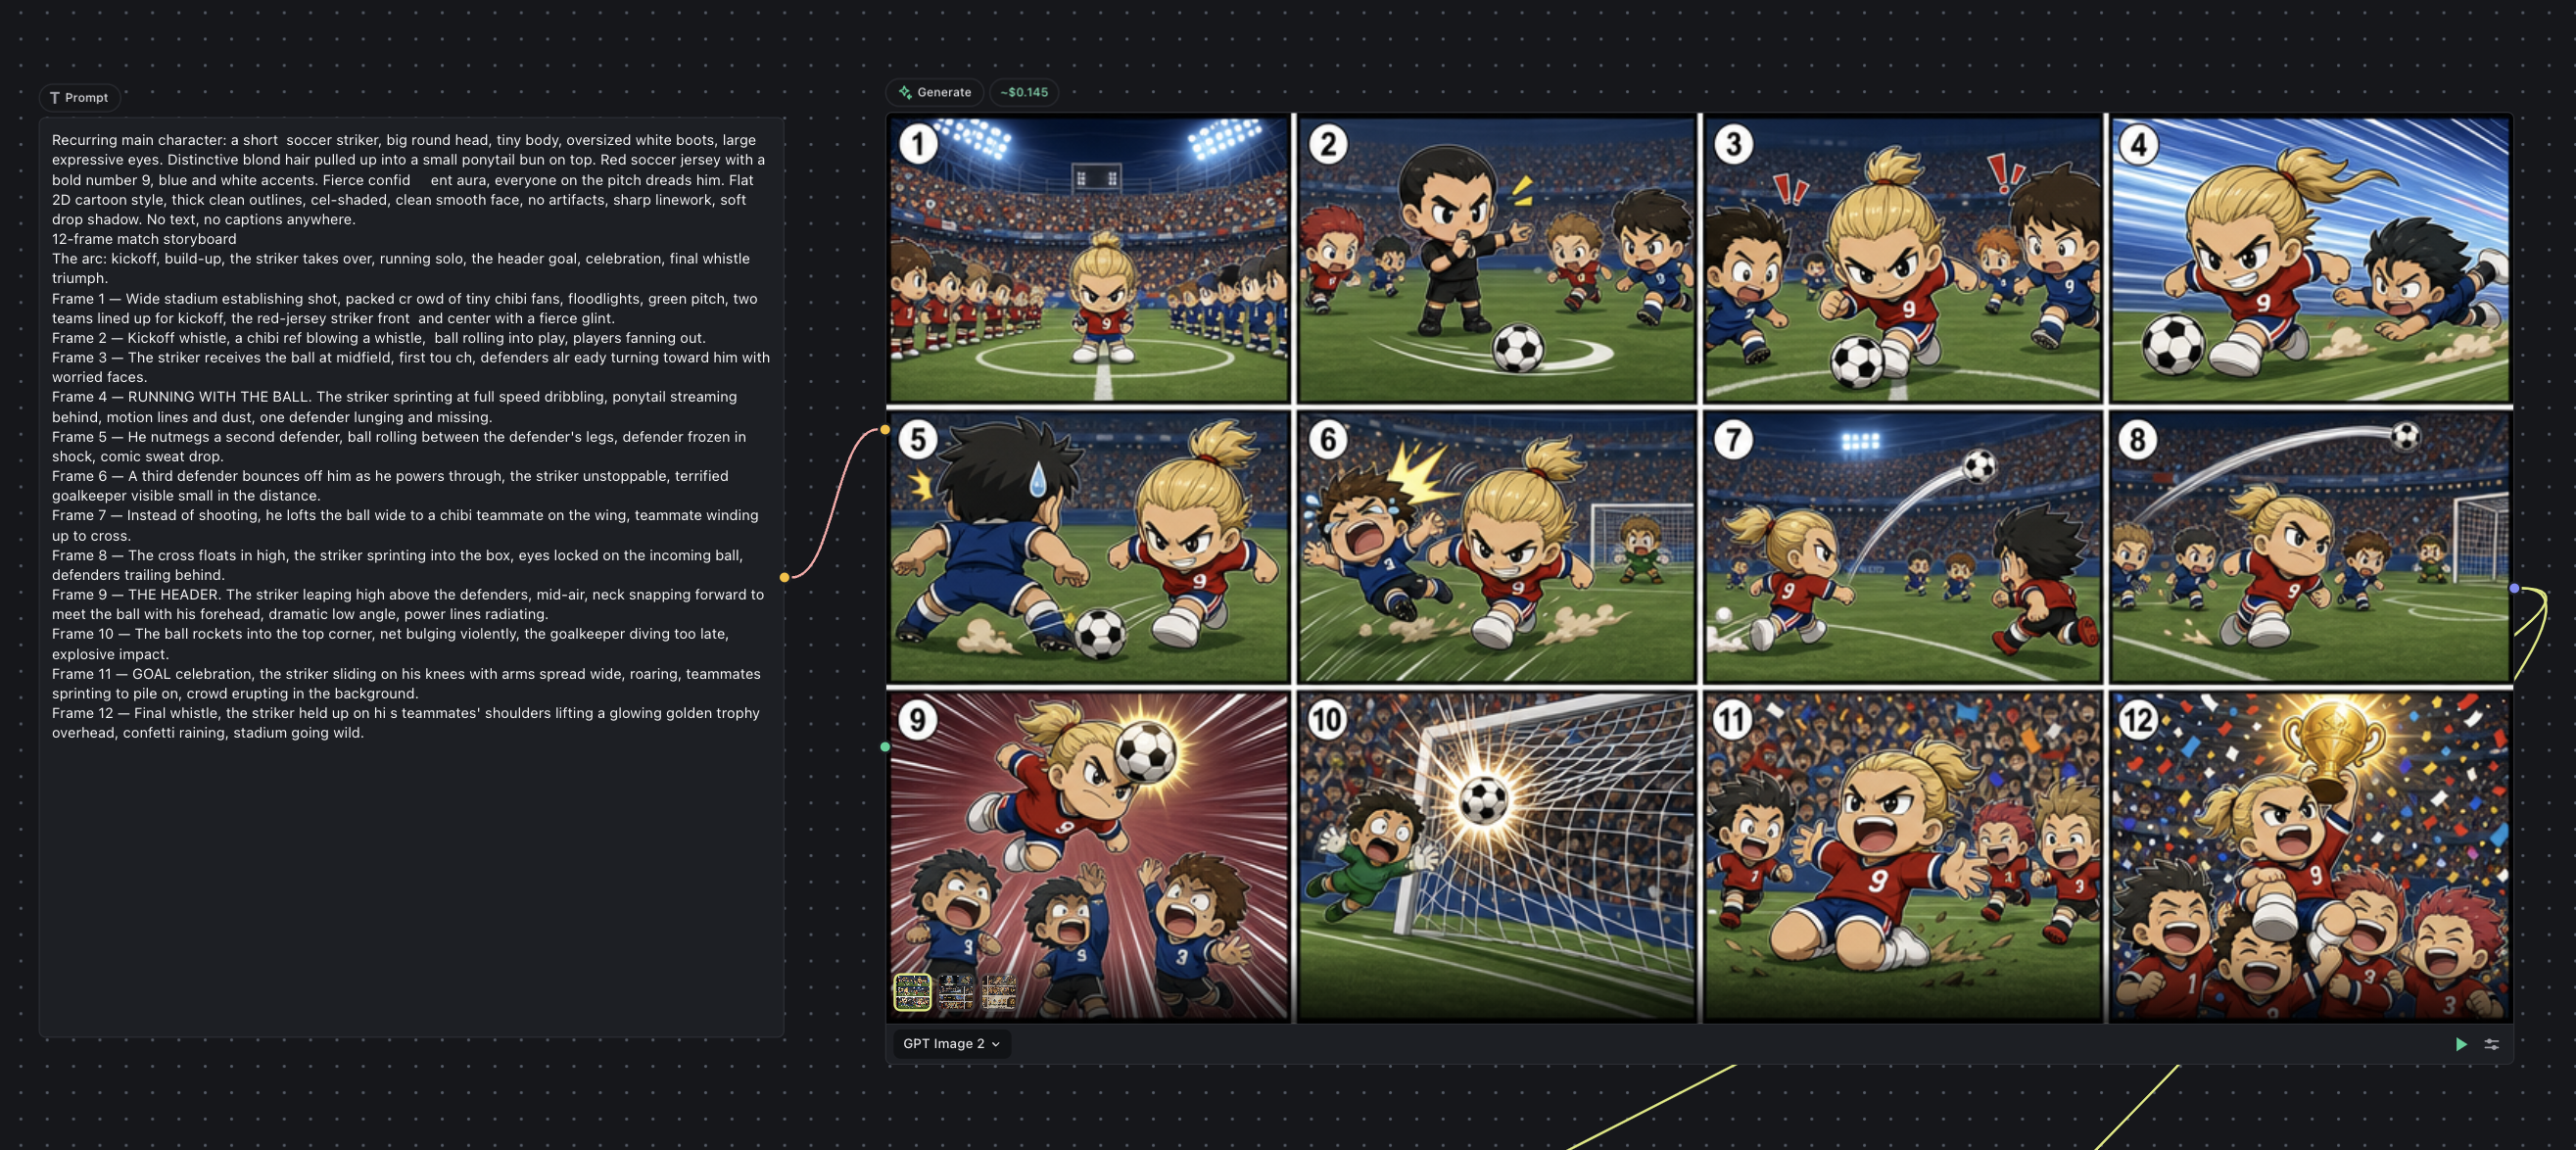
Step 4: Generate the video shots
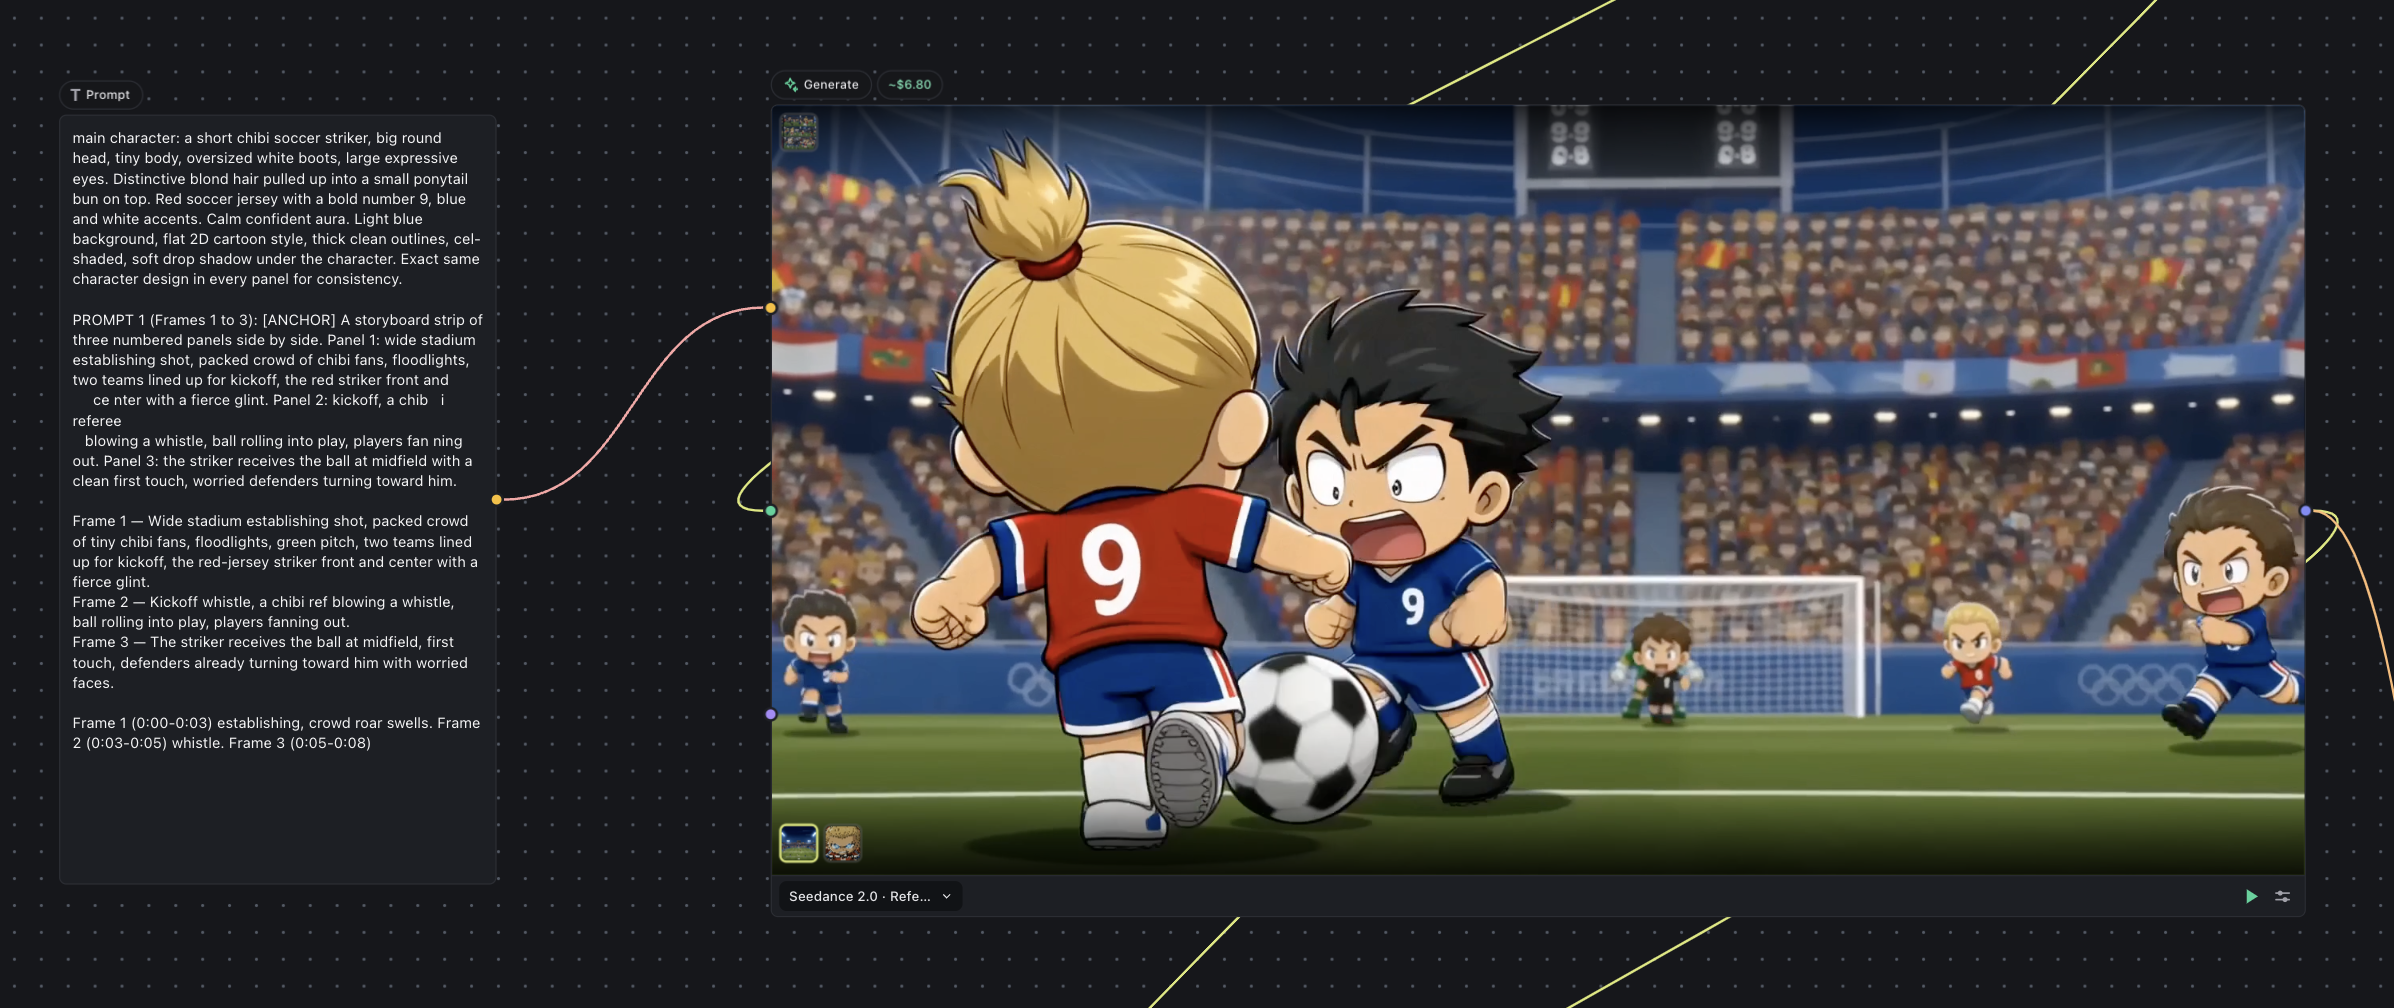
- Add a new Generate frame node with the model Seedance 2.0 Reference to Video.
- Add a new Prompt node and connect it to the generation node, as shown below.
For node settings, click on adjust icon to expand all settings e.g. resolution.
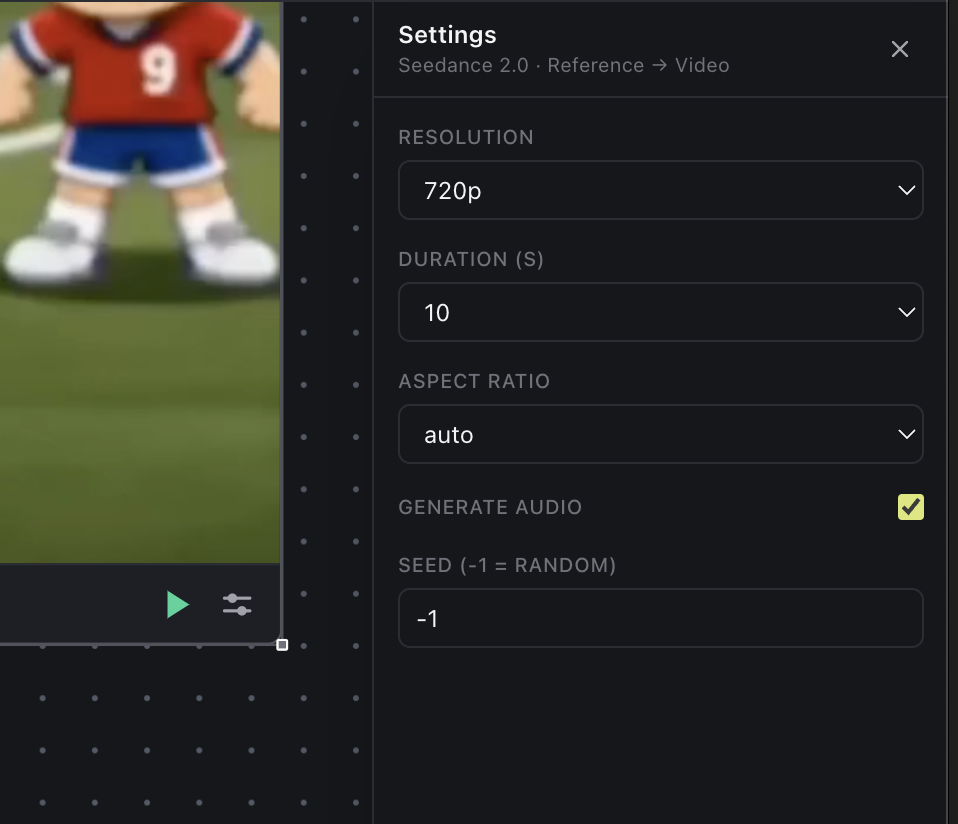
I combined three shots into one video, but you can generate each shot separately.
Repeat Step 4 for every shot. All prompts are included in the project zip.
Step 5: Combine the videos
Once all videos are ready, combine them with a Video Director node.
- Add a new Video Director node.
- Connect the video inputs to your generated video output links, in the order you want the shots to appear.
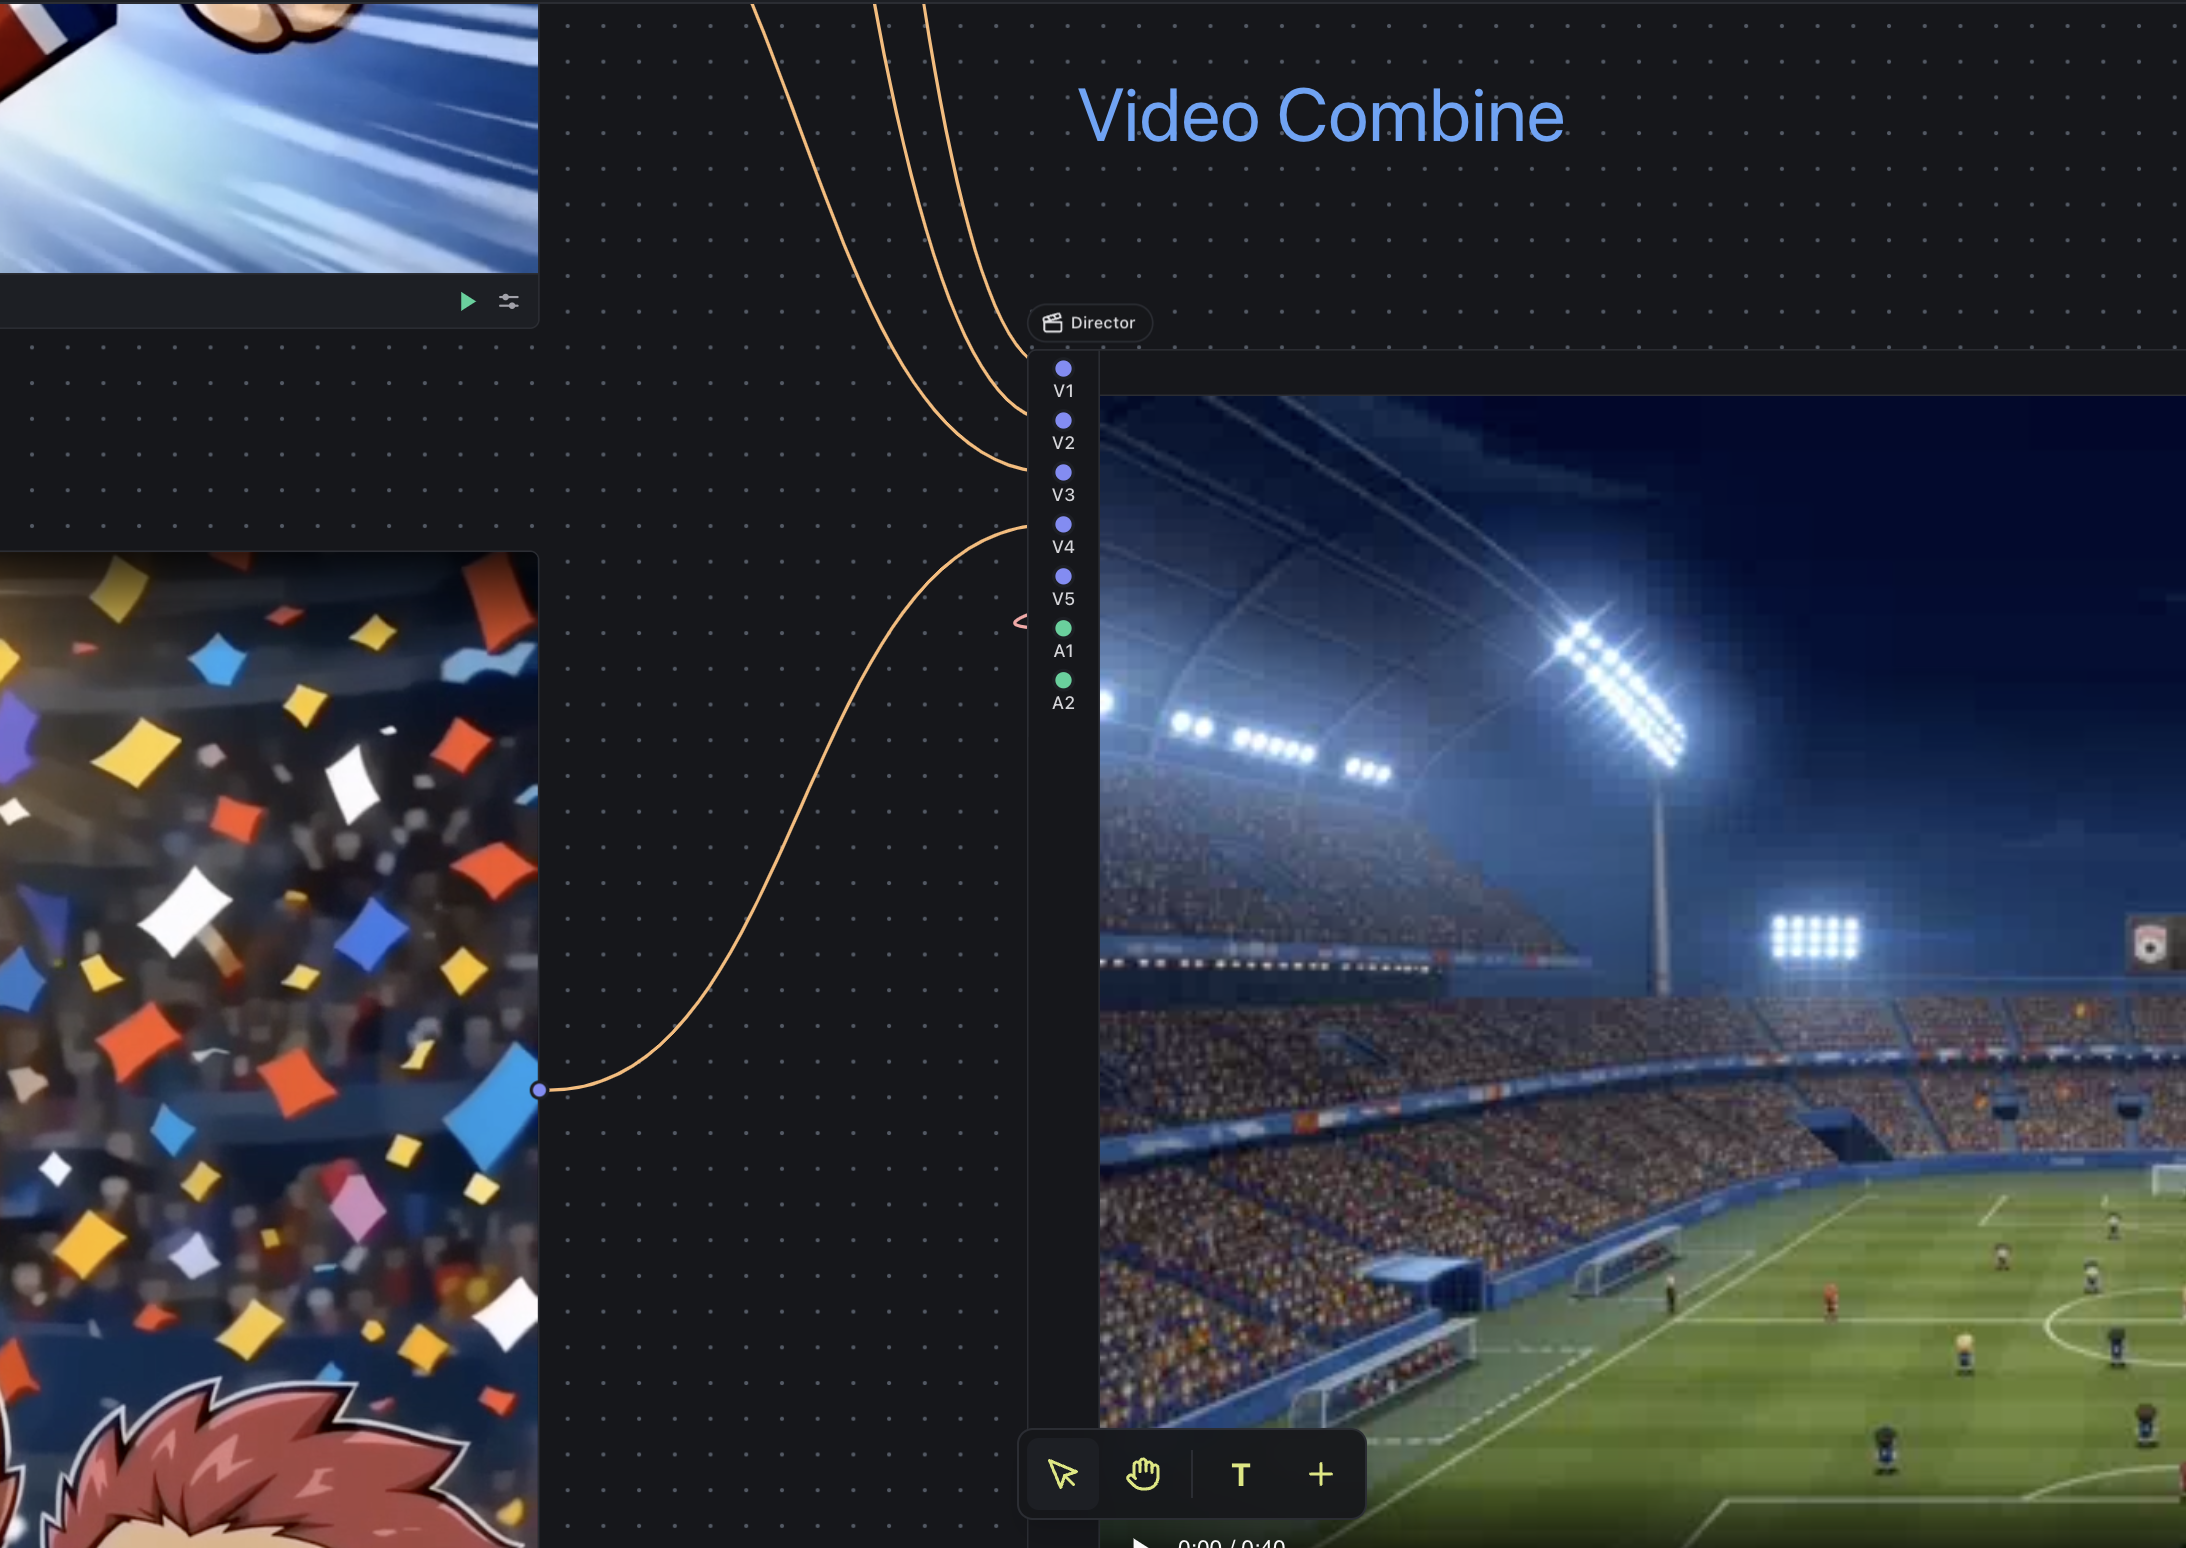
Step 6: Add audio
To include audio, drop an audio file into Assets, then drag it onto the canvas to import it.
- Select type ComfyUI. An audio bar chart will appear.
- The Generate node cannot trim audio. To set your start point and length, adjust the bars to match your video length.
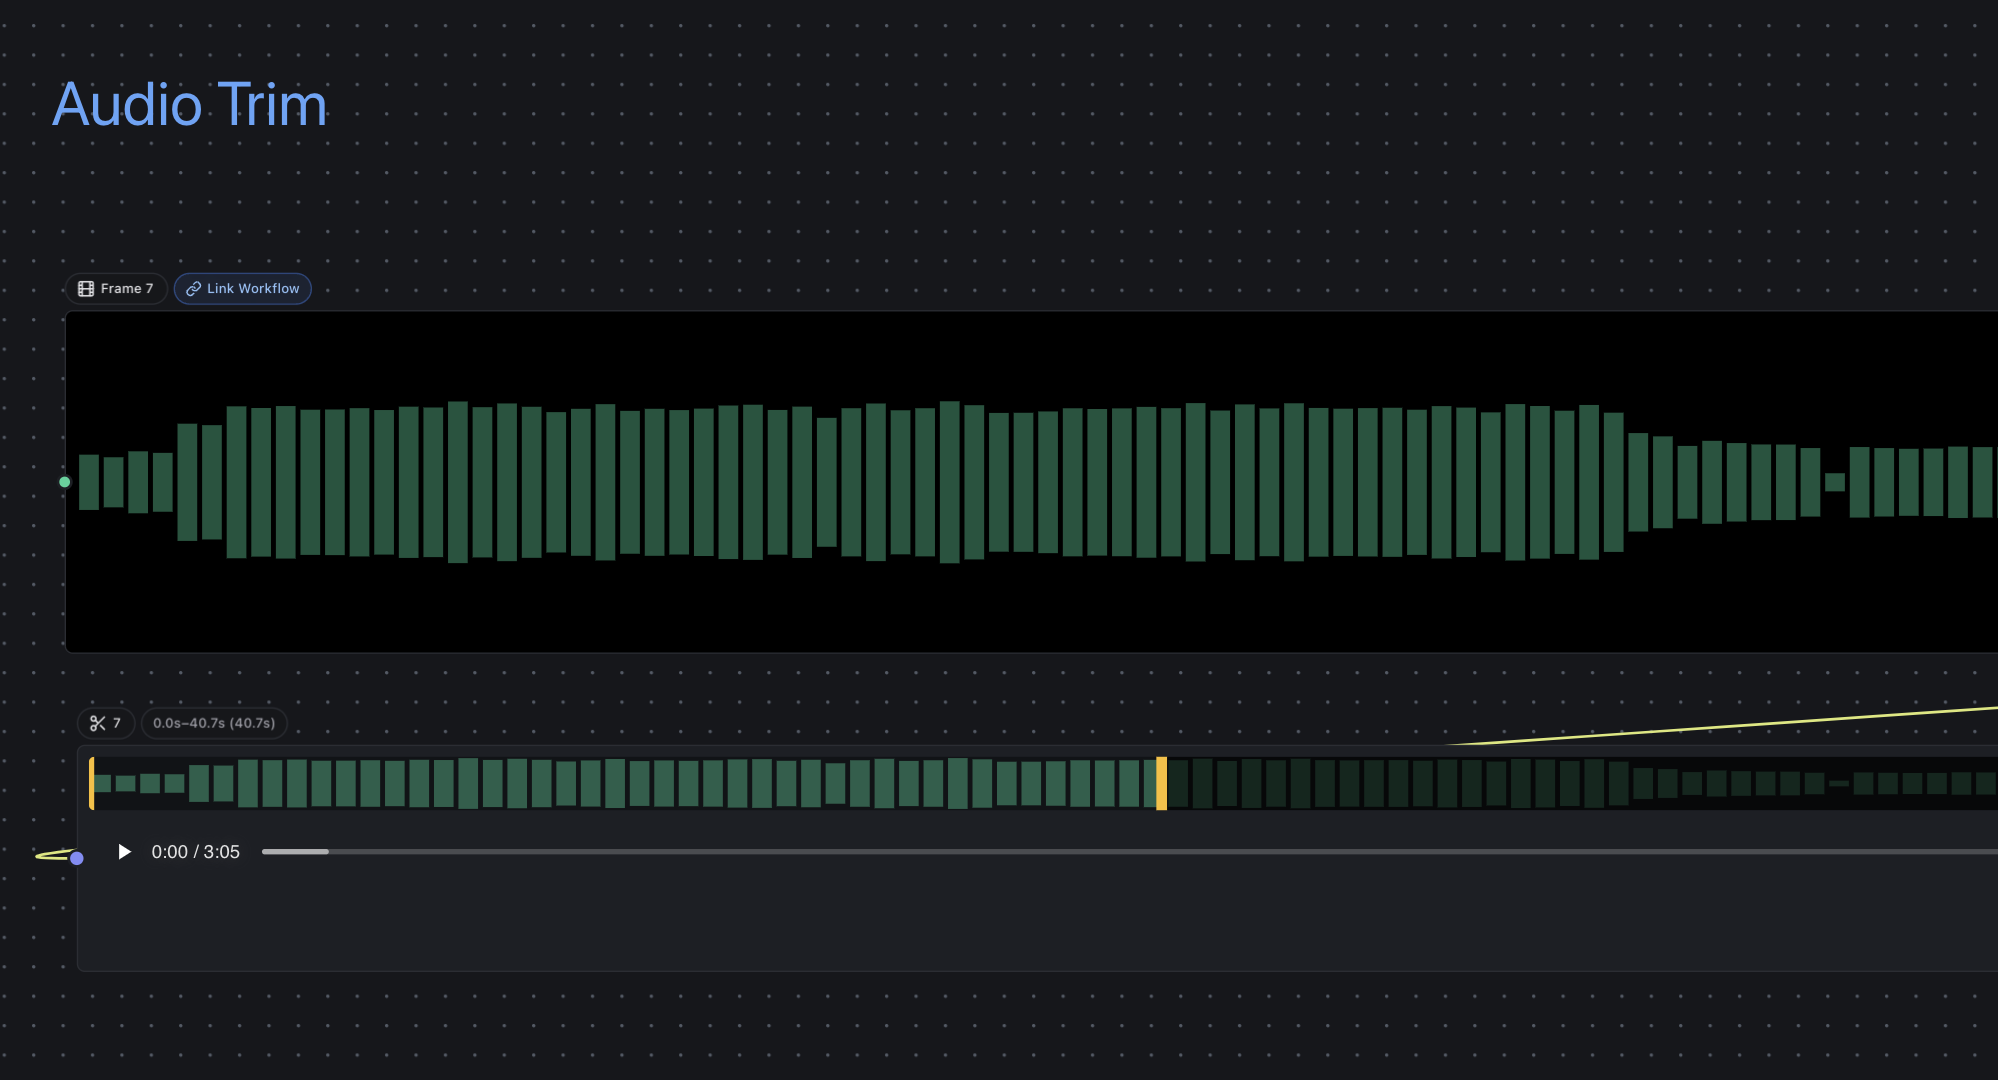
Step 7: Attach the audio
Connect the trimmed audio output to the Video Director node. Your audio is now part of the render.
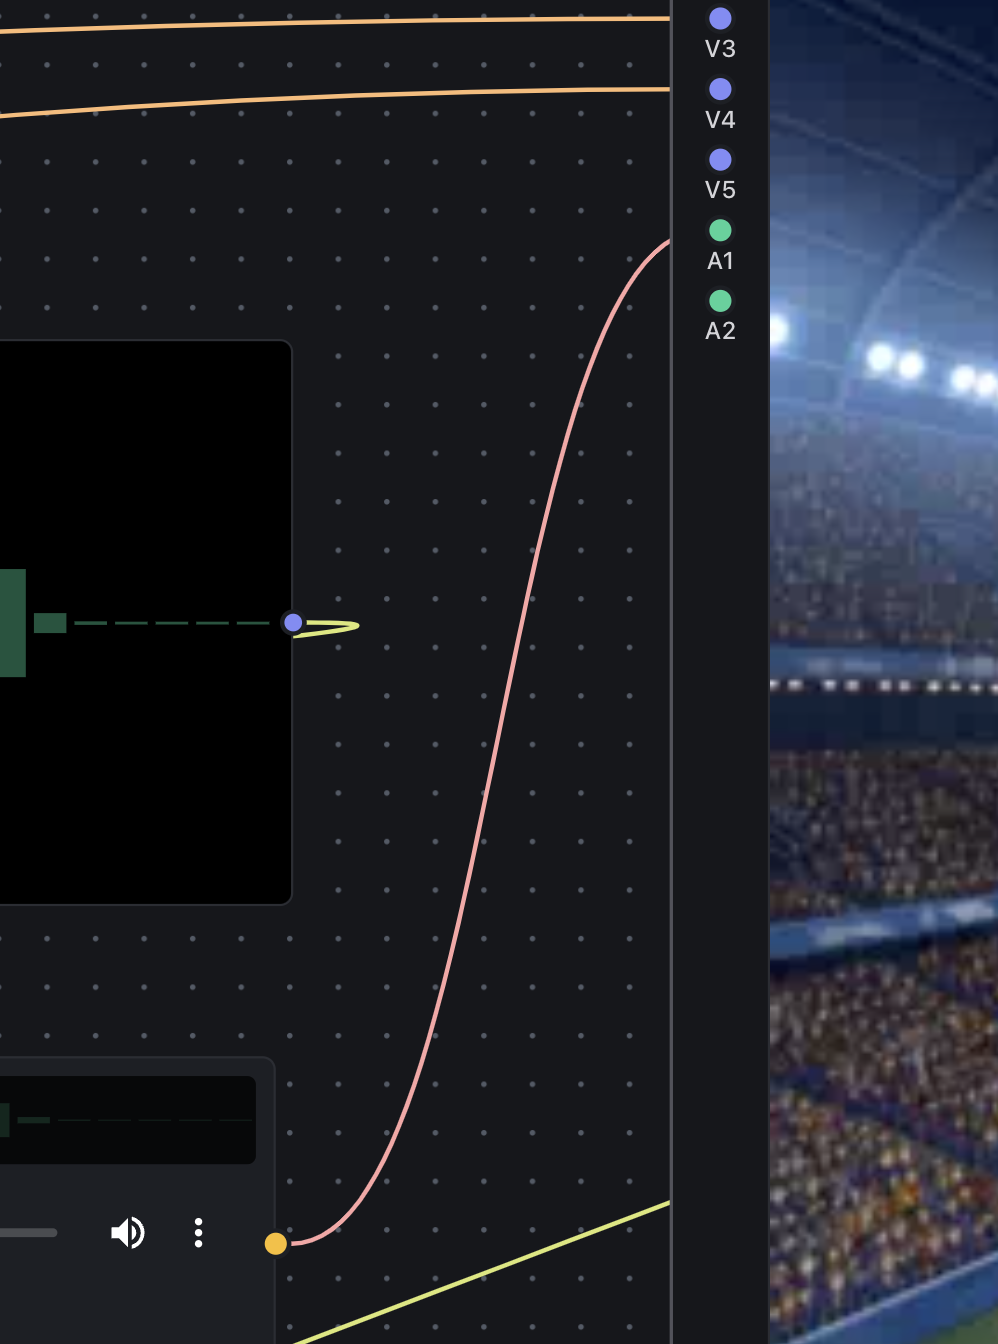
You are almost done. Preview the video and adjust inputs until you get the shot you want.
Step 8: Final export
Once you are satisfied with the output, connect a Preview frame to the Video Director's output link and hit Export. This produces a high quality render.
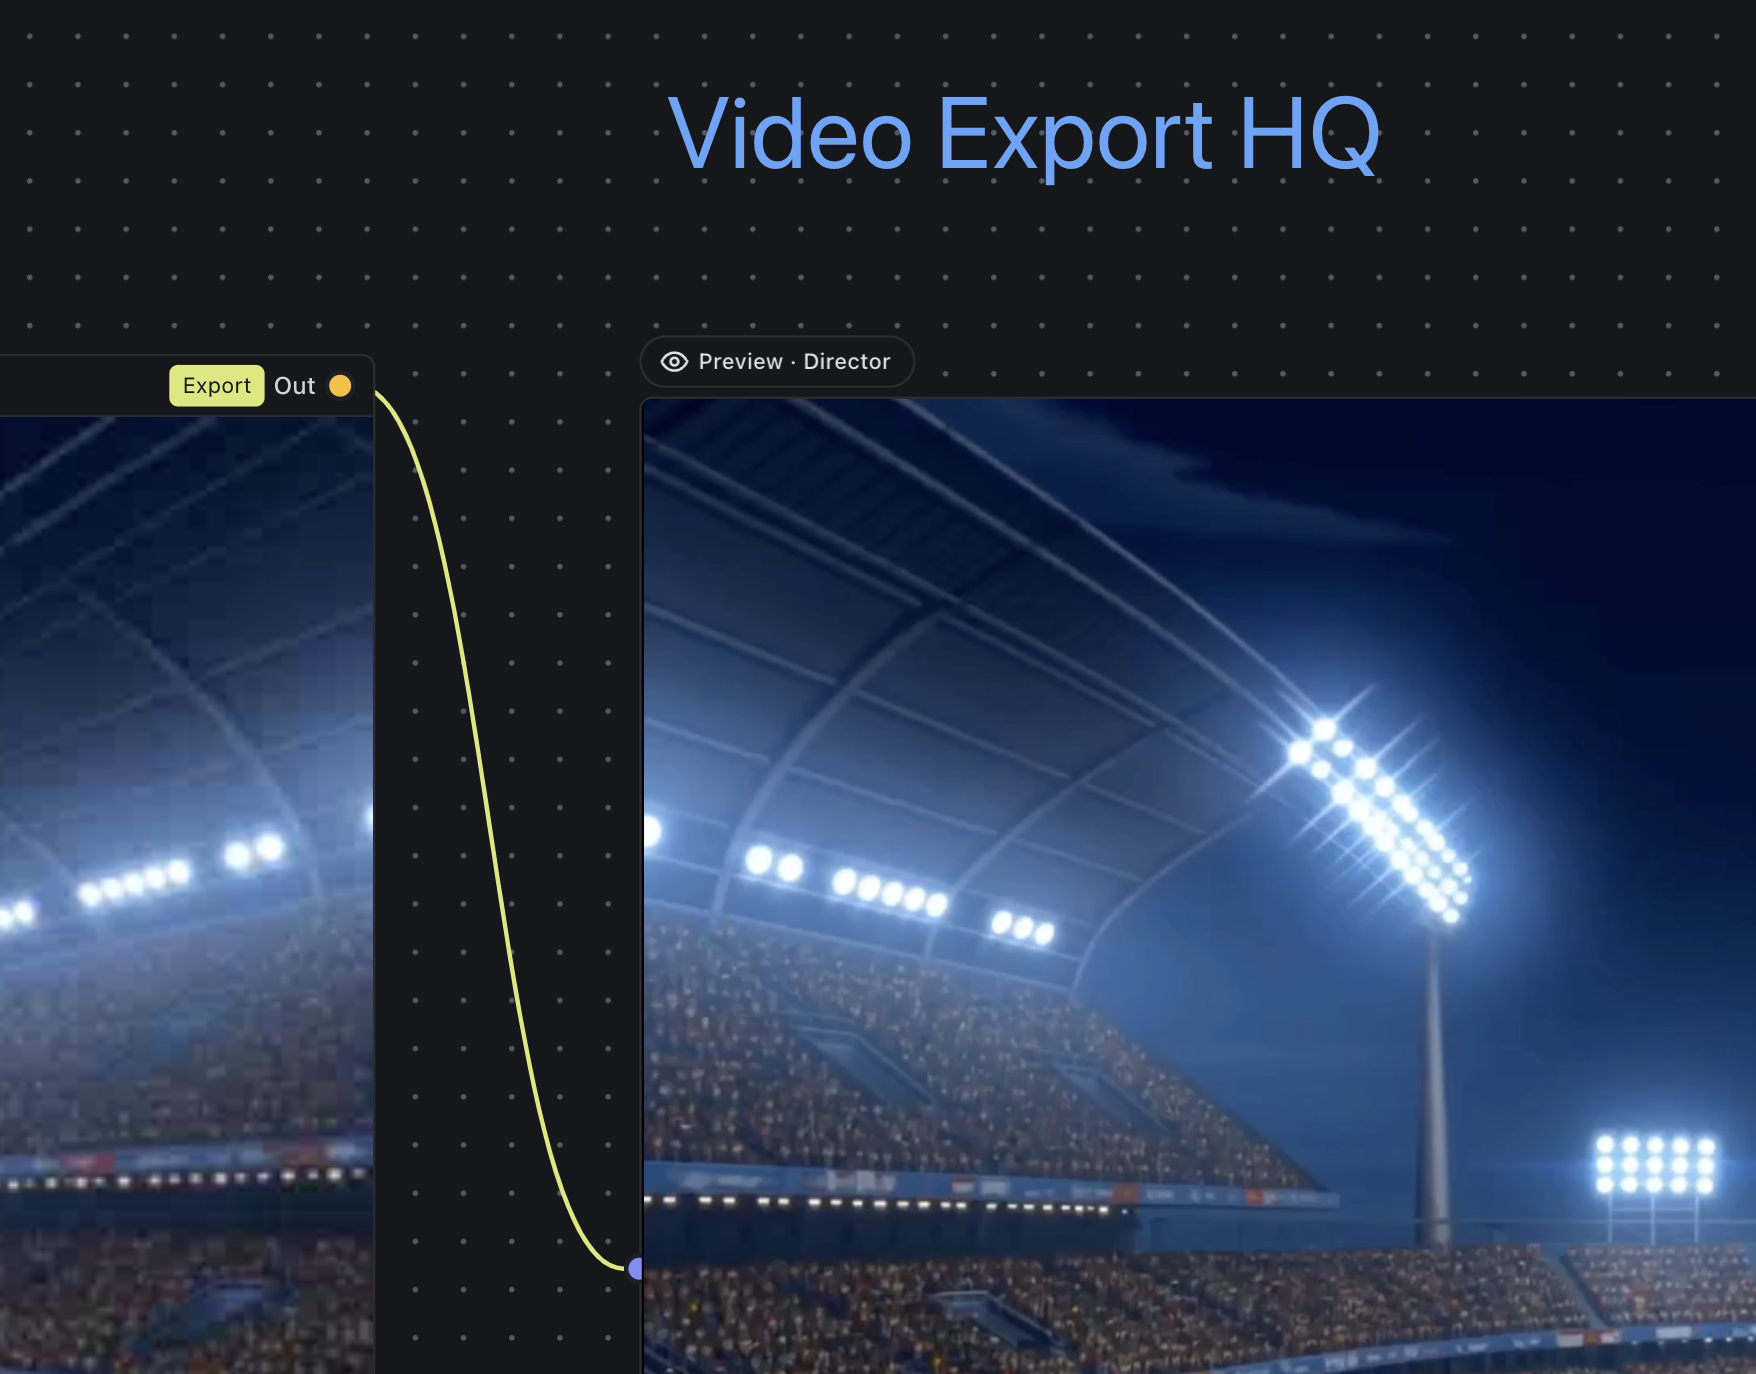
Save your generation with a right click.
For any questions or support, reach out to the team on Discord.
Want the whole project?
Download the full Inline Studio project, prompts, frames, and takes included.