5 mins read
Getting started with Inline Studio
From install to your first rendered frame and a shareable project, here's how Inline Studio works.
Install Inline Studio
Download the free app for your platform, macOS (Apple Silicon or Intel), Windows, or Linux, and open it. The canvas and planning work right away; you only need ComfyUI when you want to render.
Download Inline StudioConnect your ComfyUI
Inline Studio doesn't bundle ComfyUI, you bring your own and point the app at it, so your media, models, and machine stay yours. Run it locally with a GPU, or deploy it on a cloud GPU through RunPod, then paste its address into Inline Studio's Generate tab.
Local ComfyUI
You have a GPU + ComfyUI on this machine
Local ComfyUI
You have a GPU + ComfyUI on this machine
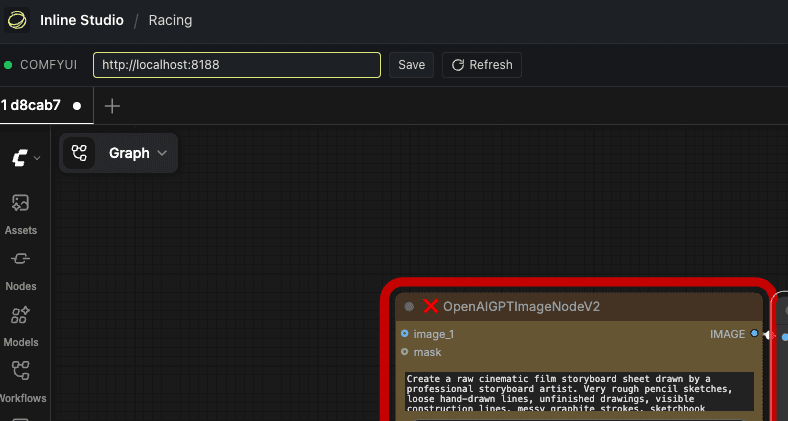
Start ComfyUI as usual. Make sure to launch it with the --enable-cors-header flag, it lets Inline Studio talk to ComfyUI and is needed for full compatibility.
python main.py --enable-cors-headerCopy the address ComfyUI prints (usually http://127.0.0.1:8188).
Paste it into the Generate tab in Inline Studio and press Save.
Cloud GPU (RunPod)
No local GPU? Deploy in the cloud
Cloud GPU (RunPod)
No local GPU? Deploy in the cloud
Deploy ComfyUI on RunPod using an official template, pick one:
Once the pod is running, copy its public exposed ComfyUI URL, it looks like:
https://2o3y58e14h8z63-8188.proxy.runpod.netPaste that URL into the Generate tab in Inline Studio and press Save.
 Watch the setup video
…or any publicly hosted ComfyUI, just paste its URL into the Generate tab.
Set up a project
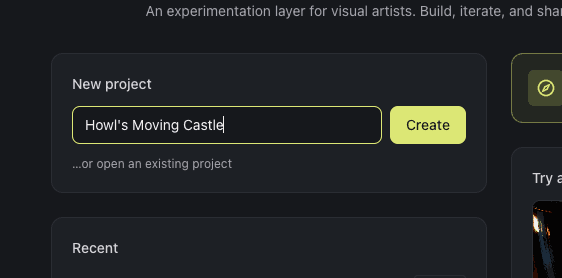
A project is a single portable .inlinestudio folder that holds everything, your imported assets, every generated take, and the workflows behind them. On the home screen, give your project a name and click Create (or open an existing one). Because it's self-contained, you can move it, back it up, or hand it to a collaborator.
Build your first frame
A frame isn't a file, it's a slot that keeps every take you generate. You build one by giving it inputs and a ComfyUI workflow, generating takes, and starring the keeper. Here's the loop:
Create new frame
Drag an asset from the Library onto the canvas to start a new frame, it becomes the frame's first input. You can also wire an upstream frame's output into a new frame to build on an earlier shot.
Link a ComfyUI workflow
Click Link Workflow on the frame. Inline Studio saves a durable per-frame copy of the workflow and opens the Generate tab, so every frame carries its own workflow.
Update & save the workflow
In the frame's Workflow section, click Build in ComfyUI (or Edit in ComfyUI) to edit it live in the embedded ComfyUI. Every Save in ComfyUI autosaves back to that frame's copy.
Update your workflow
A freshly linked workflow starts empty. To build a real ComfyUI generation, open it in the linked workflow tab, import the ComfyUI workflow you want to run, and save, your changes autosave back to the frame.
Run the workflow on the Generate tab
The Generate tab is the full ComfyUI interface. Queue the prompt as usual; each run produces a new take, an immutable output, so nothing is ever overwritten.
Retrieve outputs back into the Inline canvas
As soon as your workflow produces a result, Inline Studio shows it in an output panel at the bottom of the Generate tab. Choose the outputs you want and link them to the connected frame, where they're kept as takes.
Connect a preview node
The Preview node lets you review a frame's generated outputs in one place. Wire a frame's output into it, it can hold any number of outputs, then pick the hero; the one you choose is what shows on the canvas.
Export and share everything
Export zips your whole project, every imported asset, every generated take, and the ComfyUI workflows behind them, into one portable file. Whoever opens it can re-run the exact pipeline and keep iterating.
Other things you can do
Using layers
Layers are resizable, named, color-coded containers on the canvas. Drop frames inside to group and move them together, only the title bar drags, so everything inside stays interactive. They organize the canvas without affecting how data flows.
Importing assets
Click + on the Library panel, or drag files from Finder or Explorer onto it, to import media. Assets land in the current Library folder and get a playable preview or thumbnail, ready to drag onto frames as inputs.
Need a hand?
See a full film built start to finish, ask the community, or reach the team directly.