Flux 2 + Krea 2: Multi model portable consistent characters(Training only)
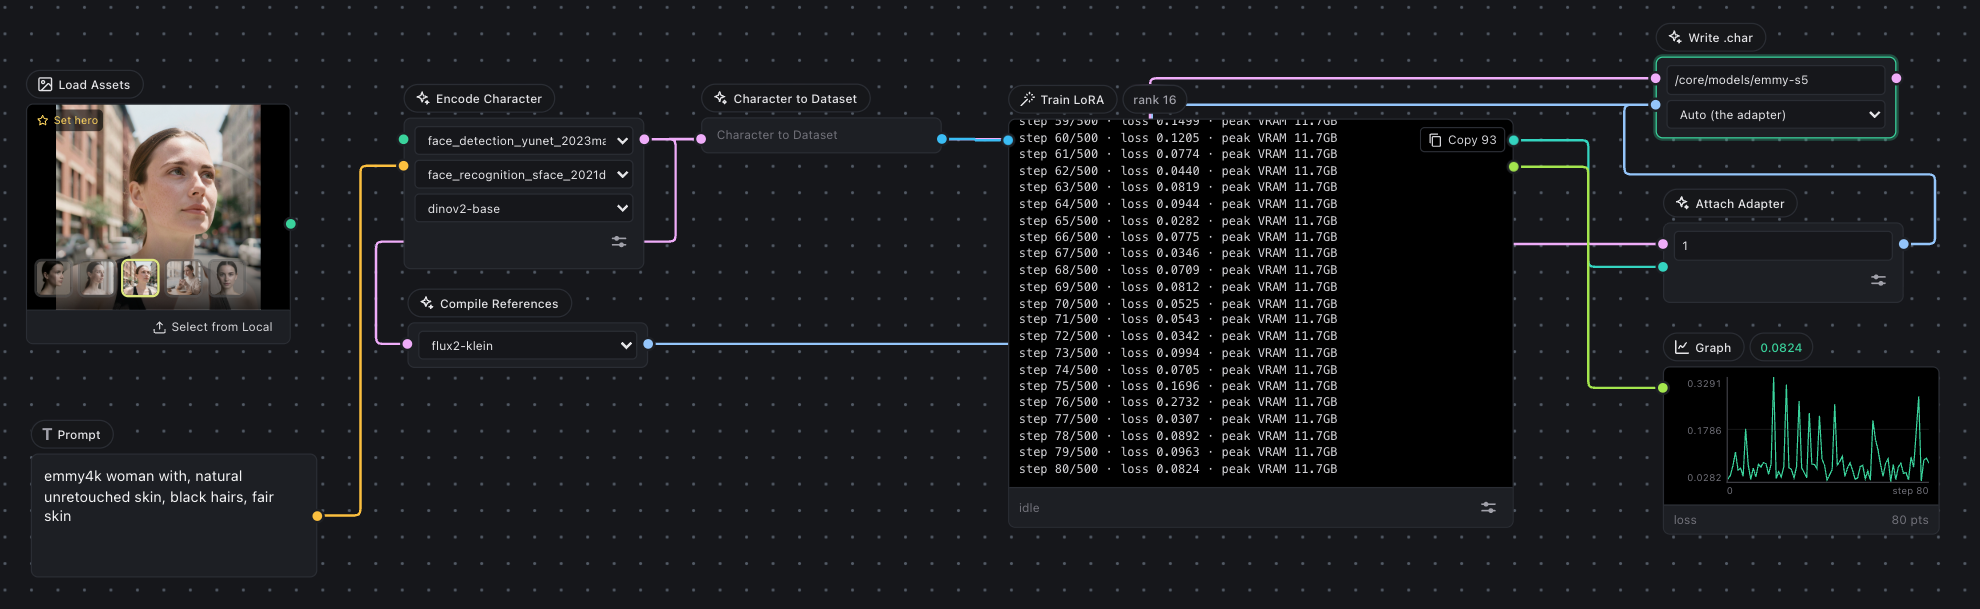
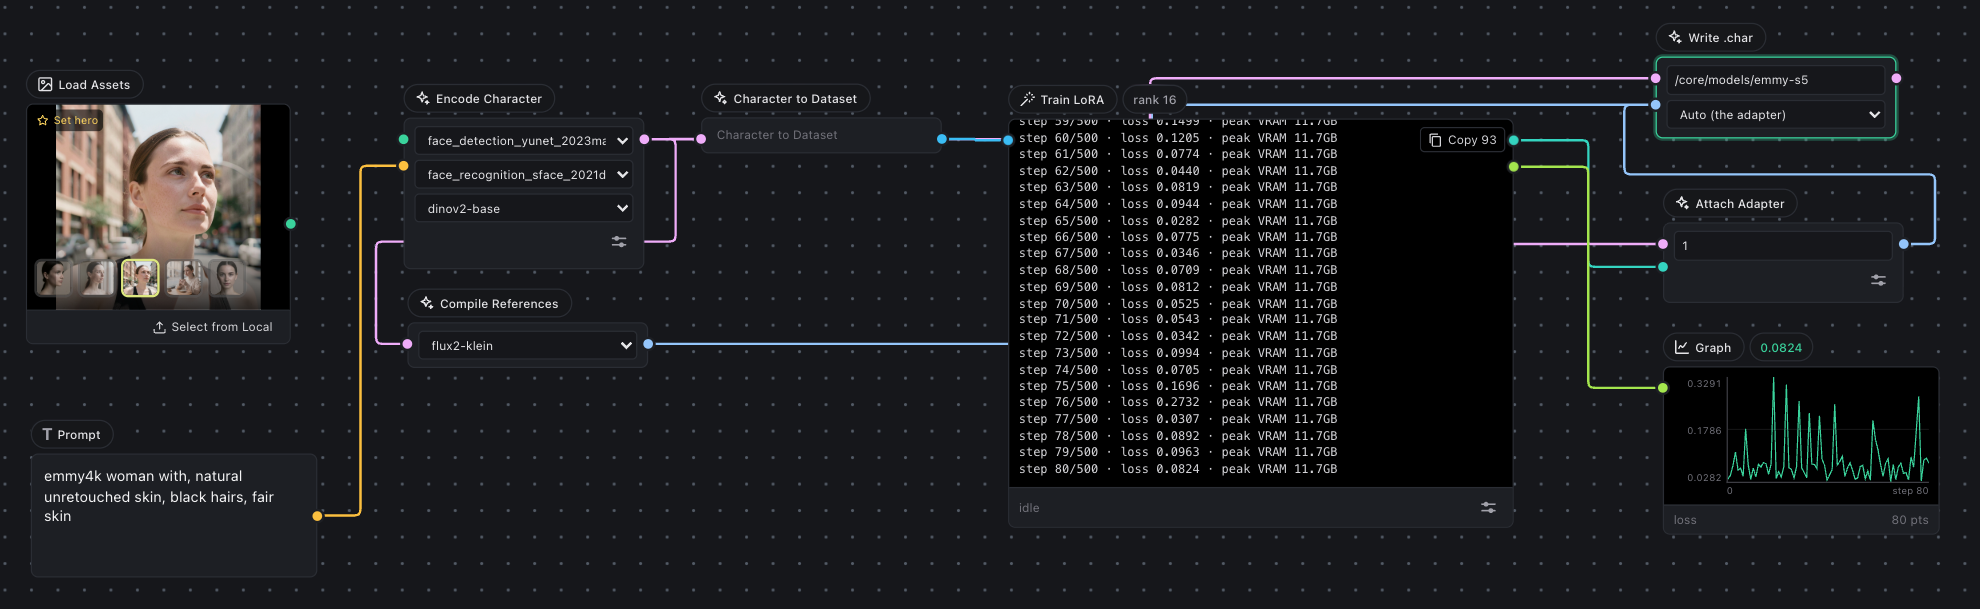
Multi model consistent character generation for combining Krea2 & Flux family into one .char. Drop 2-5 image, describe your character & get the exported .char. Workflow uses advance techniques to put flux 2 identity payload & krea2 lora weights into one .char file to achieve multi model capabilities.
- character
- lora
- krea2
- flux
9 views · 0 downloads
Inputs
Inline Studio can download these into your project on import, or you can wire up your own files instead.


About this workflow
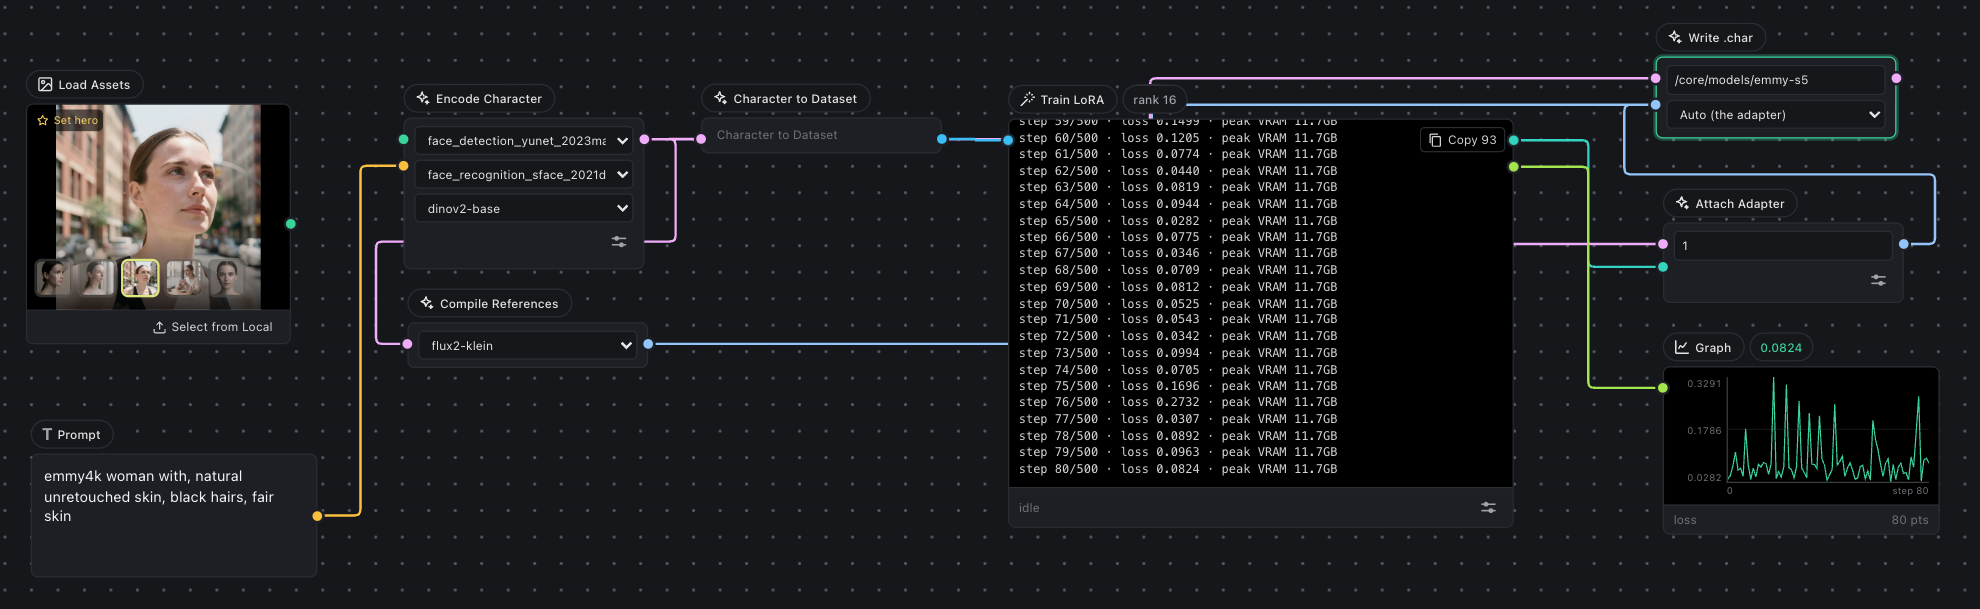
This workflow demonstrates, build a character that is supported across multi model generation pipeline. For this workflow we are combining Flux & Krea2, so that same .char exported file works across both flux family & Krea 2 generation nodes.
Requirements
- Nvidia GPU: 16GB+ VRAM
- Inline Studio installed
Steps
This is a step by step guide to run this workflow.
Step 1: Setup Inline Studio
- Visit installation instruction on our Github readme to setup Inline Studio on local machine with your own GPU.
- No GPU? Launch Inline Studio via official template on Runpod
Step 2: Download workflow
You can download this workflow from the download icon next to title. Click on it & the json file will be saved to your local machine.
Step 3: Drop the workflow
- Open Inline Studio canvas, create a new project or use an existing project
- Drag & drop the saved workflow into the canvas
Step 4: Install models
As soon as you dropped the workflow, missing model popup will guide you through model download.
Models required:
core/models/
  diffusion_models/  krea2_raw_bf16.safetensors
  text_encoders/     qwen3vl_4b_bf16.safetensors
  vae/               qwen_image_vae_diffusers.safetensors
  annotators/        face_detection_yunet_2023mar.onnx
  annotators/        face_recognition_sface_2021dec.onnx
  annotators/        dinov2-base/                               <-- folder
Step 5: Load inputs
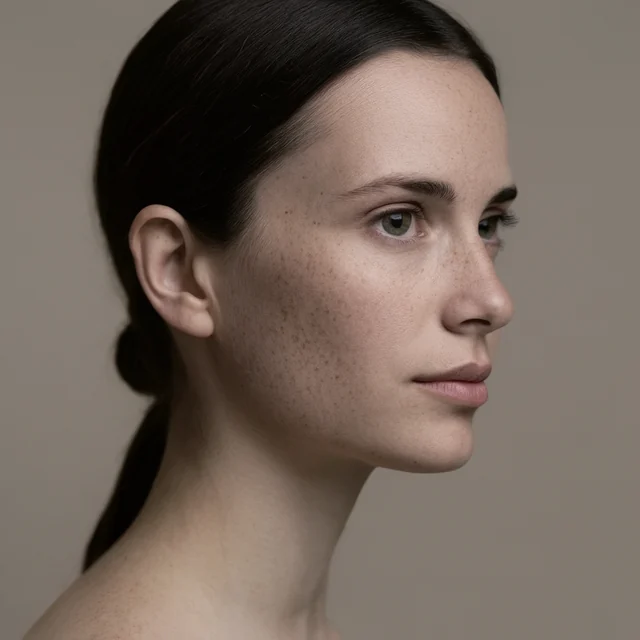
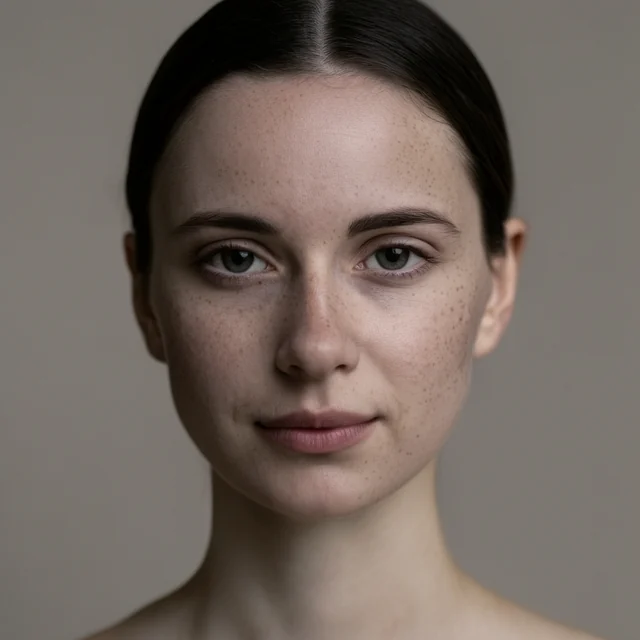
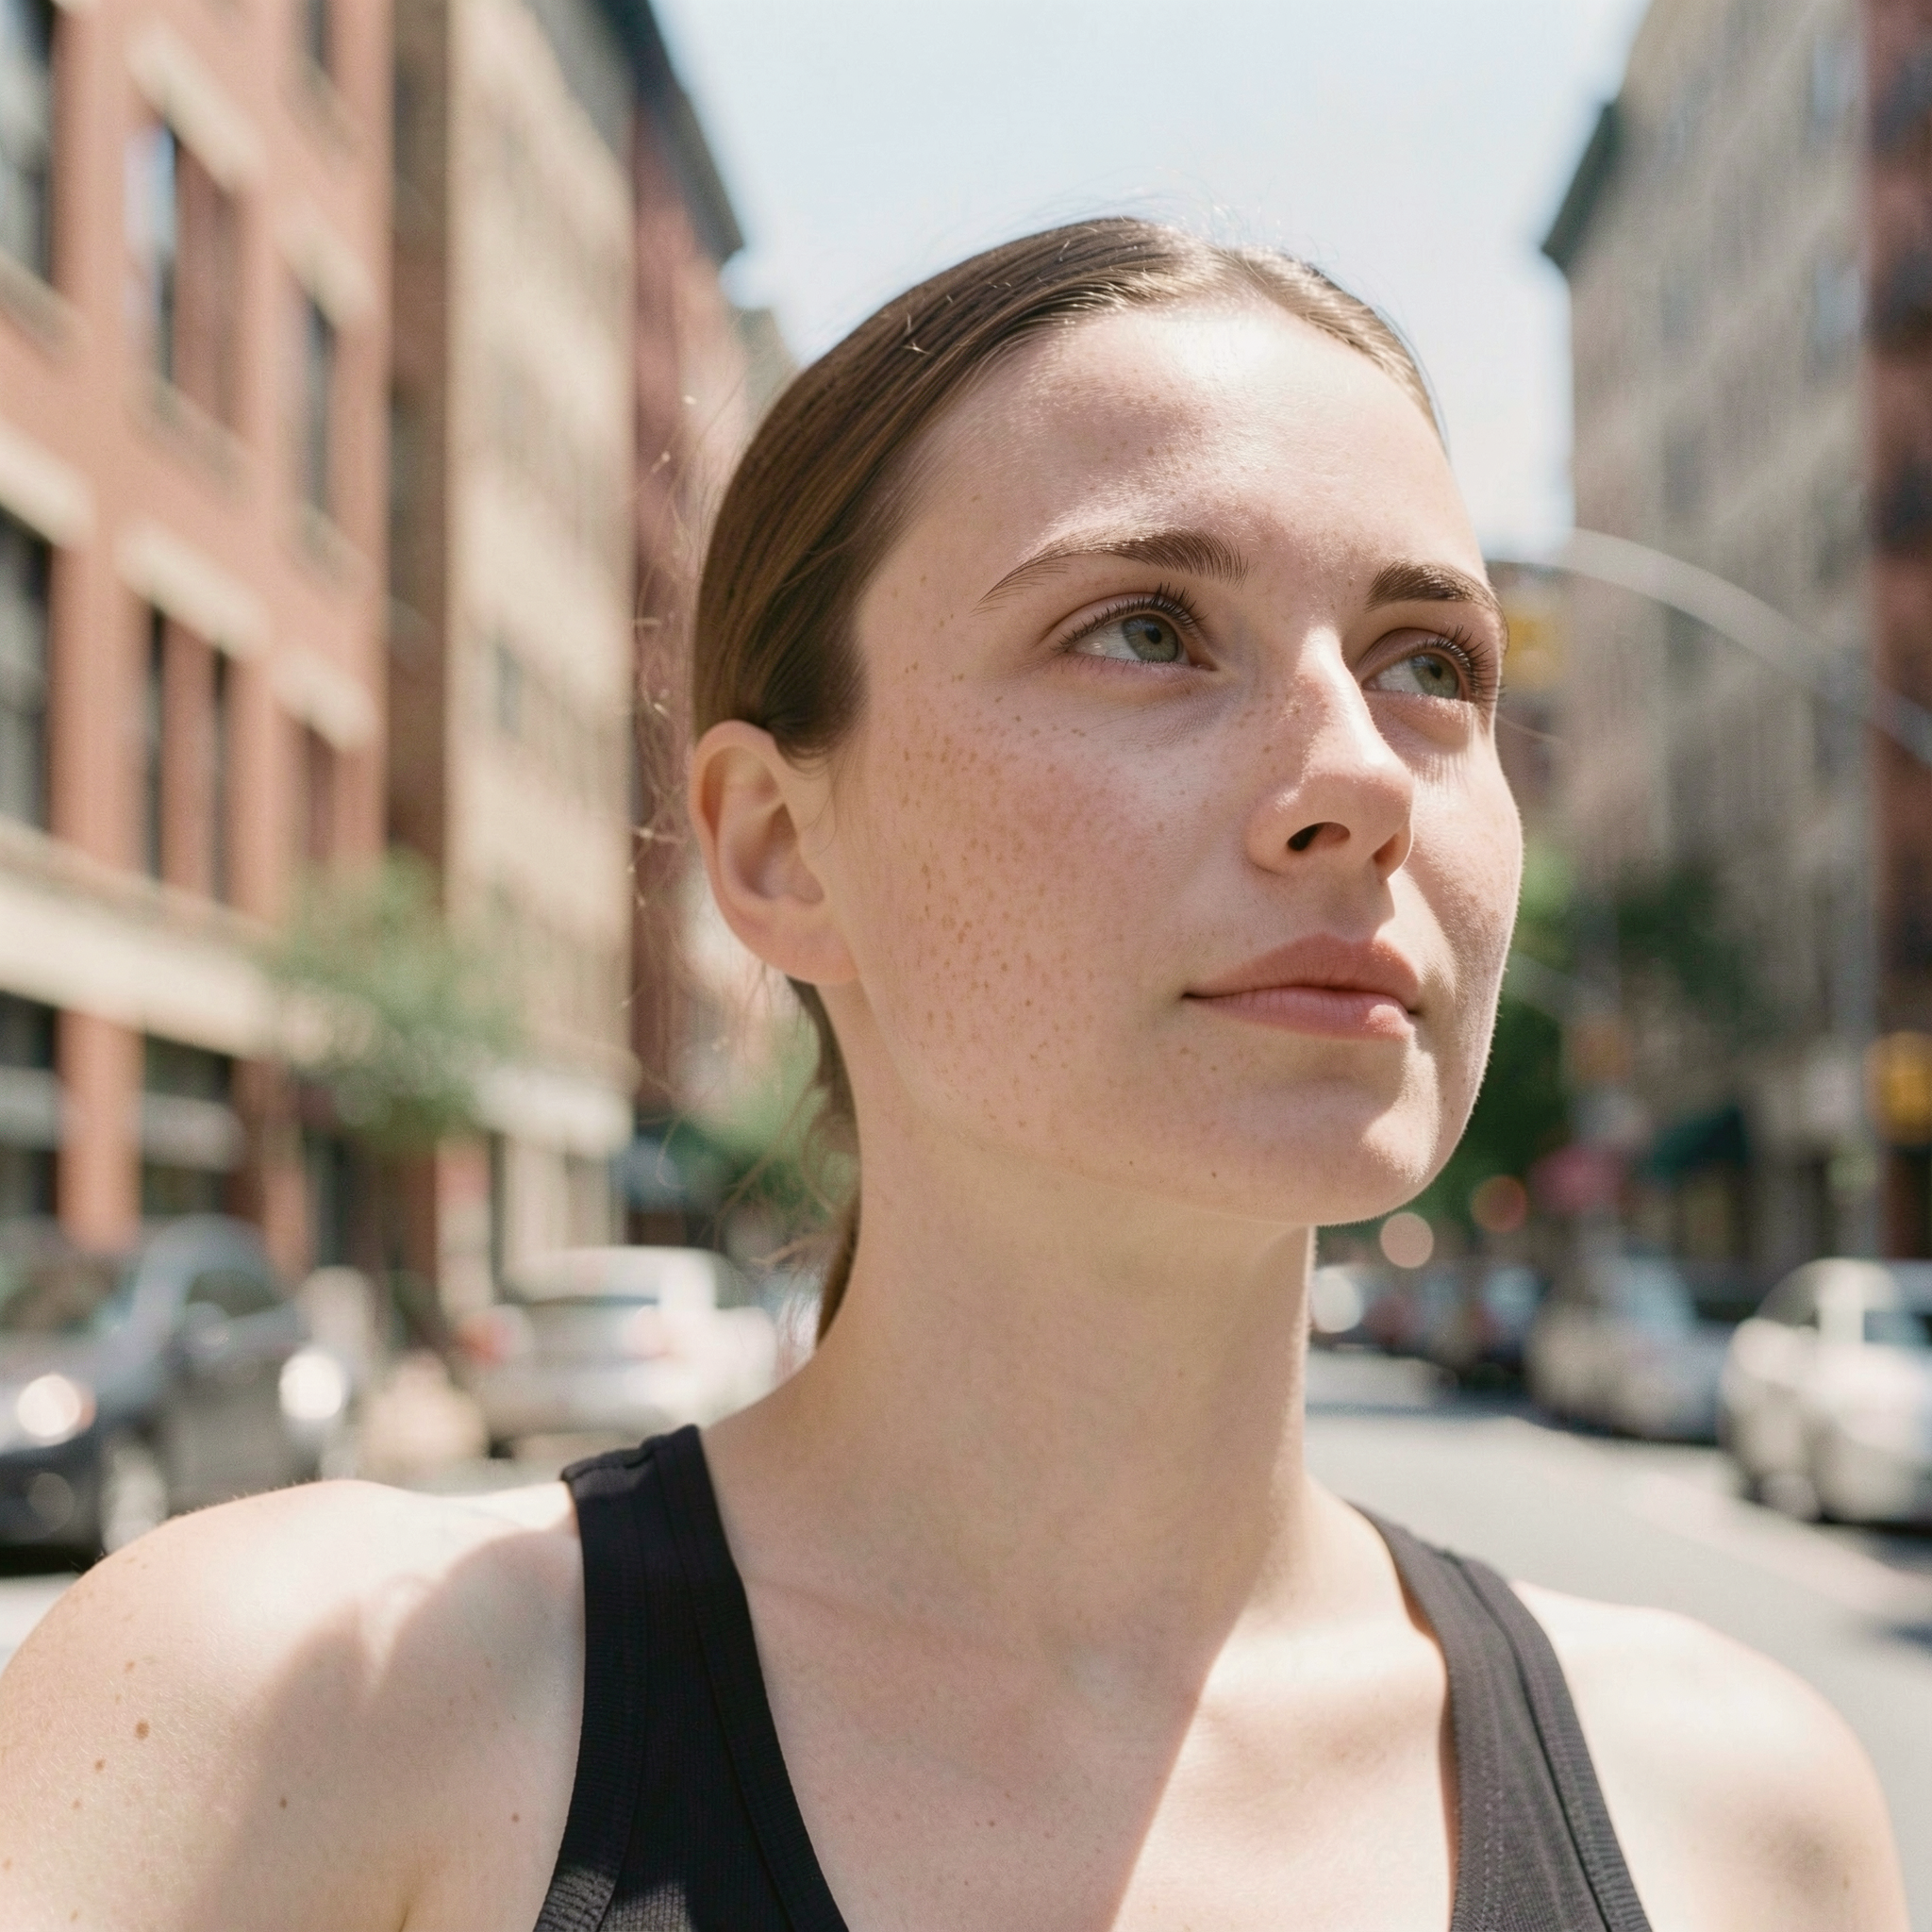
Download both inputs in this given workflow & drop them in Load Assets node or you can add your own face images.
Step 6: Run Workflow
Flux generation node is already attached with character workflow in order to immediately text the generation.
Once you will run the workflow, on successful run it will save a .char file under /core/model/characters folder.
Step 7: Monitor Train
Default steps are 800, it will take somewhere around an hour to finish training, once training is completed, it should export lora file & as well as a .char file. Locate both files under models side panel.
Once exported, both files will be available in Load Lora & Load Character nodes.
Step 6: Reuse .char without rebuilding(Optional)
Most of the workflow part is responsible for building char model but you might not need to build model on each run.
If you just want to generate using same generated .char, Setup a new separate generation graph:
Load Character Node -> Flux Generation Node
As of now .char is only supported with Flux node. For any issue or support, reach me out on Discord.